RPi4 – Setting up a Ham Shack Raspberry Pi 4b – SDRplay
UPDATE: I can no longer recommend going in this direction. I’m not sure what happened – in August everything was going great guns with this section of the SDRPlay forums and, the 32 bit version of the SDRPlay Raspberry Pi image file – to be set up on your RPi4 was made available. The folks at SDRPlay even announced a “Kit” was available at HRO, (and it is).
In August they were going great guns – then come late September they seem to have simply abandoned all support for using their product with the RPi4 and 3. No word I can find on what happened, then got my answer when they introduced their new “DX” model of their primary product. When I took another look at their downloads this morning – the only thing that really changed was the release of a new WINDOWS version of SDRUno software, to v.1.3.3. NOTHING has moved involving the RPi stuff since August – and the only change made in September was to announce that the forum they hosted was suspended and shoved everything off to that so-called “independent” forum:
We encourage existing members and visitors to join or visit the new independent SDRplay forum on https://sdrplayusers.net/forum
For technical support relating to SDRplay hardware or software, please open up a support ticket via www.sdrplay.com/support
I just checked and that “new independent” forum still has only 3 entries. The only thing posted since its inception is a note about SDRPlay’s new “DX” product. <Spit!> (Sorry for that, but this old boy is just a little ticked off). Believe I will be looking at other Solutions for the RPi4 and RSP2 combo.
The rest of this post will be kept, but only for historical purpose – a great idea gone askew and one that
Today, (Halloween), Amazon delivered a Canakit Raspberry Pi 4b 4gb Basic Starter Kit.
We intend to dedicate this one to Amateur Radio – Here is a photo of the HDMI display showing I’ve got the latest version of SDRplay running, ready to connect to our Radio Spectrum Processor, (RSPduo). The RSPduo is a high performance dual-tuner 14-bit Software Defined Radio, (SDR), receiver
The first step was to locate/download the latest version of SDRPlay image file prepared to work with the RPi4 single board computer.
- Go to sdrplay.com – then to their Downloads directory
- Click on the Raspberry Pi tab below “SOFTWARE”
- Click on the download icon next to “RPI IMAGE – V0.6 (16TH AUG 2019) (All RSPs – single tuner mode only)” (That is the current image available as I type – you may find an updated file).
- Currently the SDRPlay user forums are being separated from the “DOT.COM” site to a “DOT.NET” site – you may see a pop-up stating “new independent SDRplay forum on https://sdrplayusers.net/forum “. <–recommend joining
- Close that popup and proceed with reading the page below it where you will find links to
- An older (2018) video guide shows how easy it is to download the Raspberry Pi SD=card image and get up and running: https://youtu.be/qXThS1XszhQ Note: You might want to take a look at their Youtube Channel and consider subscribing to it.
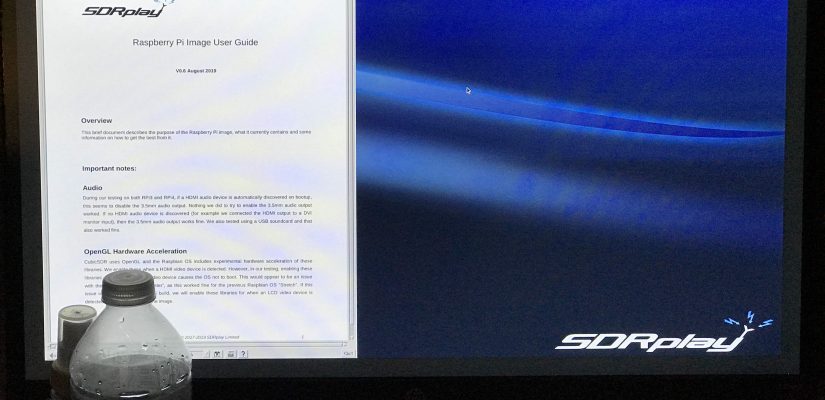
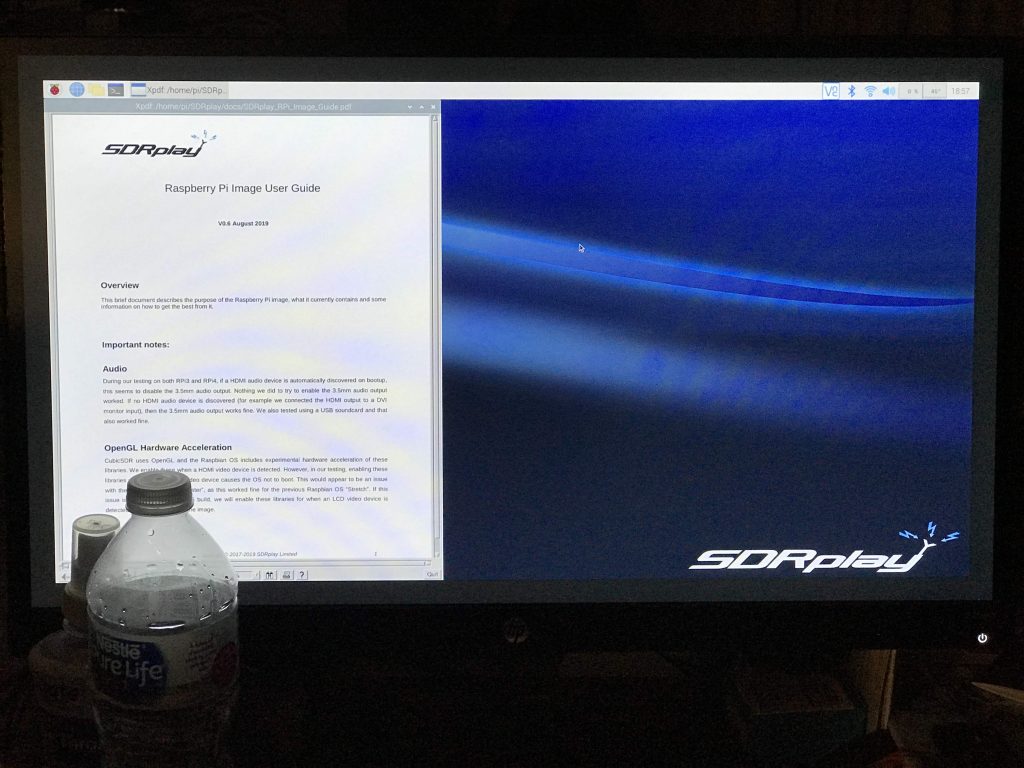
- A document which describes the image contents: https://www.sdrplay.com/docs/SDRplay_RP … _Guide.pdf
- Two links from which you can download the image – I used this one: https://www.dropbox.com/s/2x7oxy7uq5hor … mg.xz?dl=0
- Finally a link to download “balenaEtcher” which I most strongly recommend for creating a perfect image on a Micro SD Card from an image file. On that page you can select the version for Windows, Mac or Linux (note 32 bit or 64 bit)
After downloading and saving the image file, you will need a Micro SD card to put the software on, I recommend using one of 32 gigabytes or larger. (The one I chose is a very fast 128 gb card as I intend to add quite a bit to this setup, including using it to keep a Pi-hole server and Pat Winlink server in continuous operation in our Ham Shack and testing many, many other Ham-related packages).
In our case, I chose to use a Notebook computer running Windows 10. Placed the Micro SD card into an adapter, and slid that into the SDHC slot. After the card was recognized, it was a simple matter to run balenaEtcher, select the correct source file from my hard disk, then select the correct target, (that aforementioned Micro SD card), then “Flash” the image onto the card. It took about 4 or 5 minutes to finish on my computer – and you need to ignore a windows popup alert trying to get you to format that card. Etcher will copy, then verify the installation, then “unmount” the card. You should now have a bootable card containing the latest version of Raspian (“Buster”), plus a complete SDRPlay installation.
When I put the SD Card in the provided slot on the RPi4 and booted it up I was elated to see a rather beautiful, blue, “SDRplay” background and I was offered the opportunity to select SDRplay’s Raspberry Pi EASYplay or Exit to the Raspbian Operating System.
Noting that I had some configuration to do – “Exit to OS” was the obvious selection.
- Opened a Terminal window and typed “sudo raspi-config” then hit the Enter key. In the resulting window you can navigate using the arrow keys and the “Tab” key to get to the <Select> or <Back> selections.
- First – I recommend skipping down to “Localisation options” – here you will set up your country, time zone, select the keyboard (if you are in the US and don’t select US keyboard layout you may get some surprises on passwords and such, which is why I say do this first), and so forth.
- “Change User Password” – Change the password for the current user (pi) to something you will remember. I choose to take it easy on myself as I know I will be typing that password a *lot*.
- “Network Options” – Configure network settings. A bit complicated for a blog post, I chose to set up Wifi – providing my network’s name (SSID), and password.
- “Interfacing options” – Configure connections to peripherals – I like to enable the following:
- SSH <–necessary for remote control across my Wifi network
- VNC <–necessary for remote control across my Wifi network
- Serial <–believe I will need this to control hardware later on
- At this point I selected <Finish> and was presented the opportunity to reboot so the changes could take effect. I chose Yes.
Admission of guilt – I had to repeat the “Network Options” item above three different times before I got it right. I have now been duly reminded that “SSID” names are case-sensitive and my very, very long and complicated network password is very easy to get a typo in. Such is life – but its pretty secure as a result.
I do not profess to know how to operate SDRplay’s “EASYplay”, but it sure felt good to see “Documentation” right up at the top of its window when I finally got around to letting it load up. I’ve got a *LOT* of reading to do and a lot more installation to get rig control set up, (hopefully with our ICOM-7300). On down the pike, I would like to set up another pi for portable operation with our USB Signalink and Yaesu FT-817 – but that is yet another project.
When I ran the update/upgrade commands from Terminal it ran and ran updating existing packages. If you do this, thought I would remind you that last step is necessary after installing from an image file. Invariably there will be packages, (in this case a *lot* of them), that have been updated. Might as well start out with a freshly updated system.
73, dave/W6TUX