Ham Radio – Ham Desk Riser Project
Originally posted Oct 16, 2016 on old blog.
This is one we started a few weeks ago. Our “Ham Shack” is in the smallest bedroom of our 4br home, and it is literally in a mess. Last month, I started simply trying to pull everything out that wasn’t part of the hobby, or there for creature comfort. When that was done, decided we either needed a new desk, or at minimum a desk riser to provide a place for power supplies, radios, tuners, etc.
I looked around for a couple weeks and finally decided to simply build our own, (hey, I’m CHEAP), which led me to search the Internet to see what other folks had created. Finally ran across this one: Ham Shack Desk Riser While the design/dimensions were not suited to our needs, it was certainly a source of inspiration.
Time to get busy! After playing with various designs, I homed in on creating one about 4′ wide, with two “shelves” and a top, each with supports, (risers), to prevent sagging. That would permit me to use the largest Melamine shelving available from Home Depot, and I could get them to do the required cuts.
Good old Home Depot!
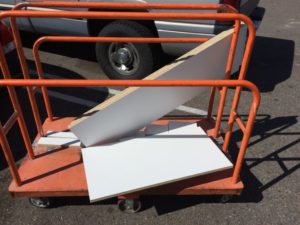
Heidi and I went to our local Home Depot where I bought three “Melamine White Shelf Board (Common: 3/4 in. x 15-3/4 in. x 8 ft.; Actual: 0.75 in. x 15.75 in. x 97 in.). The young fellow at their saw service then made a total of 17 cuts for me without complaint. One hour after our arrival, I left with what is essentially a “Kit” for nothing more than the cost of the material.
Melamine is durable and not all that expensive, but it is also heavy, relatively hard to work with, (and *very* hard on saw blades).
4″ riser glued with Gorilla Glue to the inside of the right side board.
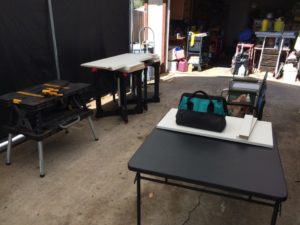
Several hours have passed already, so this will be all for today. You get the idea of the steps followed from the photo above.
I have deliberately “over-designed” this Ham Desk Riser for strength. Power supplies and HF Radios don’t weigh as much as they once did, but would really like this unit to last.
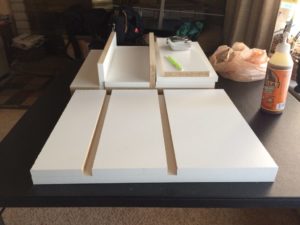
Setting up to start fitting, drilling, counter-sinking, etc.
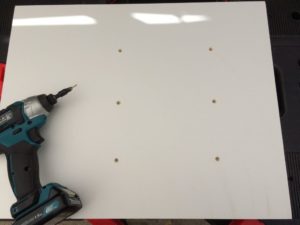
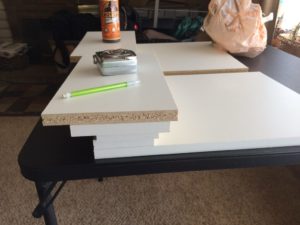
Pre-assembly preparation.
Pre-assembly preparation.
Each joining spot will have 3 screws in it, so pre-drilled holes and all will be counter-sunk, then a little white plastic cap covering the screw. This kind of thing took up most of the afternoon, early evening.
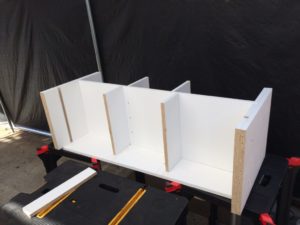
Coming together rapidly but ran out of daylight.
This is where we left off the first night as it was getting dark. The unit is laying on its back, (on the unattached piece that will be the top), as we attached the upper and middle set of risers. Heidi’s help was MUCH appreciated for that part!
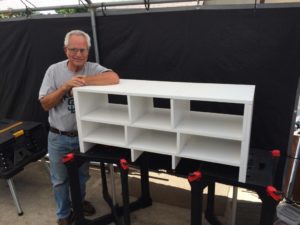
Assembly completed with our neighbor’s help!
Heidi was out and about with her 91 year old Mom, so called our friend and good neighbor, “Rick”, over to help hold stuff square while I drove in the final screws. He did so as I attached the two 4″ risers under the bottom shelf, then both of us carefully slid the shelf into the appropriate “slot”. Only 18 more screws while he diligently kept everything lined up and Eureka!
Now all that is left to do before setting it on the Ham Desk is covering all of the exposed screws with little plastic caps. (Piece of cake!) It is far from perfect, but completely function and a bit more than “sturdy”.