Lazy Man’s Bread Dough
Originally posted Nov 26, 2011 on old blog
The most difficult part of baking bread outdoors, particularly at a campsite, is the preparation time when you start from scratch. Back around 2009, I read an article on-line at the Mother Earth News web site entitled “Five Minutes a Day for Fresh-baked Bread” that I found intriguing. Some time later on, I noted the book under the title “Artisan Bread in Five Minutes a Day: The Discovery That Revolutionizes Home Baking“, by Jeff Hertzberg and Zoe Francois was available on Amazon.com – then a few weeks ago, ran across the idea again on instructables.com – and finally it clicked…. “I CAN USE THIS FOR OUTDOOR COOKING TOO!” (DOH!) Once the dough has raised, then refrigerated, all I have to do is keep it cold until ready to use a portion of it… Not only that, but I can use the same basic dough for far more than just “Artisan” breads – (think Pizza!).
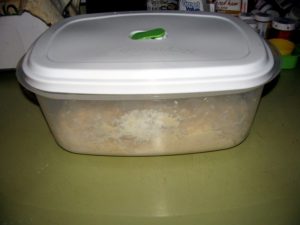
The only real difficulty I had involved the requirement for a non-airtight food container of suitable size to hold the dough. Finally located a 1.5 gal container with a vent built into the lid at our local Smart & Final and put it to use this past evening. The goal is to have a general purpose bread dough, initially made in a good quantity, then used a piece at a time for the purpose at hand. 😉
As always, I have slightly tweaked the recipe to meet my own needs and available ingredients, but you can substitute your own, (most strongly recommend unbleached flour though).
Ingredients:
- 6 cups warm water from the tap
- 3 packets of Fleischmann’s Active Dry Yeast (you could get away with 2 but…) Note: I also used Red Star Active Dry Yeast – about 5-7 tsps works fine but reactivate in lukewarm sugar water
- 3 Tablespoons table salt (I use Morton’s and you could get away with 2)
- 13 cups Gold Medal Better Bread Flour
Directions:
Put warm water right into the container, add salt and yeast. Stir with a spoon or whatever and let it set while you get out your flower.
In a large mixing bowl, pour in your dry flower prior to measuring. Using a 1 cup dry measure and a straight edge, scoop up your flower into the cup – level it in the measuring cup by swiping excess off the top back into the bowl and dump that measured cup into your yeast solution. Repeat until you have 13 cups in there and do NOT lose count. 😉 (I don’t know about you – but keeping an accurate count on my ingredients seems harder for me than it should be).
Mix your dough, (I simply use clean hands – you may prefer a mixing spoon), but don’t overdo it. The idea here is to make a bread dough, you aren’t mixing plaster. Avoid the temptation to “knead” it – you simply want to thoroughly mix it. When you are done mixing, pat the dough down fairly level then, (I’ll have to wash my hands first), give the container a good shake to settle the dough in the container.
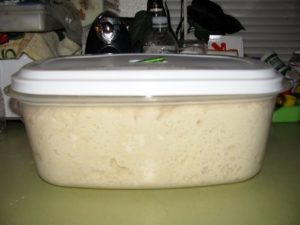
Cover with the lid, (vent should be open too), but don’t press it down. Let it rise on your counter-top for 2 hours. (If you used my ingredients it will more than double in size).
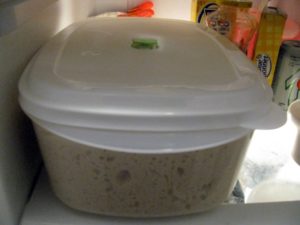
Storing Dough:
Put the container of dough in the fridge, it will last two weeks or more. After a couple of weeks it will no longer rise at all when set out for use, but even then will still be fine for pizzas and/or flat-breads.
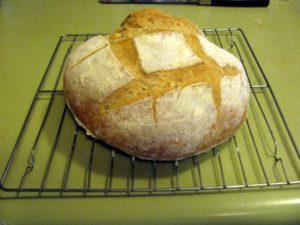
Notes: The picture above is a loaf cooked on a pizza stone in Heidi’s oven, (I got carried away scoring the top). It has a “sourdough” like flavor and was well received by the women folks. I will be writing articles referring back to this one on how to make use of the dough outdoors, the use of pizza paddles and parchment paper and so forth.
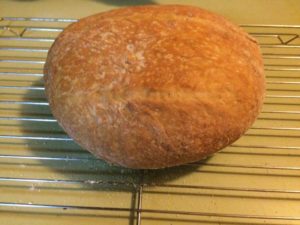
Loaf made February 5th, 2015
If you spray the top of the loaf with a little oil, (pam, canola, etc.), and use a sharp knife, scoring the loaf goes a lot easier, plus the oil helps the loaf brown quite pleasantly on top.