The “Command Line” and RPi4
In a time long, long ago, in a world long forgotten, I was introduced to something called “Unix” and a command line interface via a Unix “shell” called “bash” via an on-line company known as “NetCom.com”. It’s been many years, but I still remember the fascinating power of those commands available to my fingers – all I had to do was learn them and their associated “arguments” and I was off to the races. The very Internet itself was mine to access and use via stuff like file transfer protocol, and I could search for stuff using a tool called “Archie”, and don’t get me started on the News Groups that were available back then. You could find *anything*!
To this very day – the command line remains a very viable tool for those who are unafraid of it. Graphical User Interfaces, or “GUIs” are now all the rage, but the command line is still there and being rediscovered by Linux and Raspberry pi users.
In UNIX there are two major types of shells: The Bourne shell. If you are using a Bourne-type shell, the default prompt is the $ character. And the C shell.
Shell Types:
Bourne shell (sh)
Korn shell (ksh)
Bourne Again shell (bash) <–the one I have always used
POSIX shell (sh)
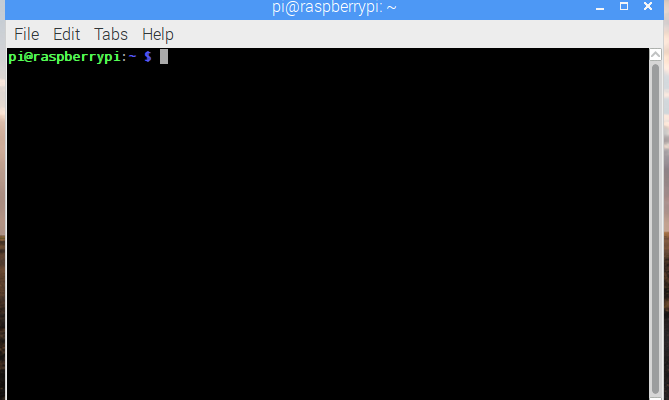
The one I focused on, and which is still in use on Raspbian is the “Bourne Again shell”, more popularly referred to as “bash”. It is accessed through the Terminal Emulator program and the terminal emulator currently used by Raspbian is “LXTerminal”. It acts just like our old text-only video screens did way back when. For now, on your new RPi4, its that little black, rectangular icon near the top-left of your screen. (Hint: You can get back out of that terminal emulator window by typing “exit” and hitting Enter, or clicking on the “X” in the upper right of that individual window).
Raspberrypi.org has some very good documentation on “Terminal” and I highly recommend you both spend some time on that page and bookmark it for future reference – included there are about 4 or 5 very key links to other, more detailed, sources/topics that are prime knowledge if you are to learn of issuing commands from the command line. Pay attention to the individual commands, like “ls and sudo” and you will find a link to most of the commands available within Raspian’s terminal – and how they are used. Again – good stuff!
You do not “have to” operate from the command line to use either Linux or Raspbian operating systems. There is a Graphical User Interface (GUI) provided that is sufficient that you may never HAVE to drop down to the command line level of commands, just like Windows or the Macintosh – but you can sure do some cool stuff from there that you cannot do from the GUI. JMHO
73, dave/W6TUX
Hmmm… Just one final thought – did you know that many of the so-called graphical programs are just neat looking graphical shells around command line programs? That “Raspberry Pi Configuration” tool accessed from the graphical menu system on Raspbian Buster operating system is a good example. The command line program under that is called “raspi-config” and is accessed by opening a Terminal, and typing in:
sudo raspi-config
(The sudo is required because you will be changing files that you do not own as the pi user, so it gives you access by using the “super user do” command).
Once again, the folks at raspberrypi.org’s documentation cover this stuff far better than a simple blog post. See it at this link – raspi-config.
UPDATE: Here are a couple of the more important command line commands I’ve committed to memory – I tend to run them the first time I open up a terminal session before going into whatever else I was going to do there:
sudo apt update <–updates the list of programs installed and those available at the Raspbian repository
sudo apt upgrade <–will upgrade any package already installed that is “upgradable” to the latest version
Here are a couple of “information” commands that you may use on occasion:
apt list –upgradable <–will show you the names of the packages that could be upgraded (Me? I just go ahead and use the one above and let it happen).
apt list –installed <–Bet you can guess – yep, shows you a list of installed packages – for some reason I’ve never used this one..
Installing packages via the command line:
sudo apt install “PackageName” <–without quotes will install the named package (if available)
To be honest, I am only now getting used to typing “apt” instead of the old “apt-get” – “apt” came about a couple years ago and old habits are hard to break, but it is a little more handy and a little less typing, (once you overcome finger muscle memory that is). Here is a pretty good article describing the basic differences between apt and the old apt-get over on the “Make Use Of” pages.
The nano editor:
If you are going to be using the terminal and command line, chances are you will eventually want to write/edit a file, whether its textual or something like an executable bash script file. My favorite tool for many years has been the “nano” editor. Here is a very good basic tutorial from Howto Forge, but there is a lot more to it:
Linux Nano Editor Explained for Beginners (10 Examples)
Here is another from the folk at Howto Geek that might be slightly more advanced:
The Beginner’s Guide to Nano, the Linux Command-Line Text Editor